Category: Tid-bits (Page 3 of 4)

Getting Organized for the Holidays

Get organized this year (and every year) by organizing some holiday tasks in advance and establishing “zones” for your holiday tasks.

You may also need to prepare your home for guests, therefore get ready to set the stage for your home to be guest-ready (just like home staging!).

Overall, getting organized for the holidays means being prepared. And being prepared involves several aspects unique to the holiday season.

Advance holiday planning

Here’s a checklist to help you with your holiday preparations:

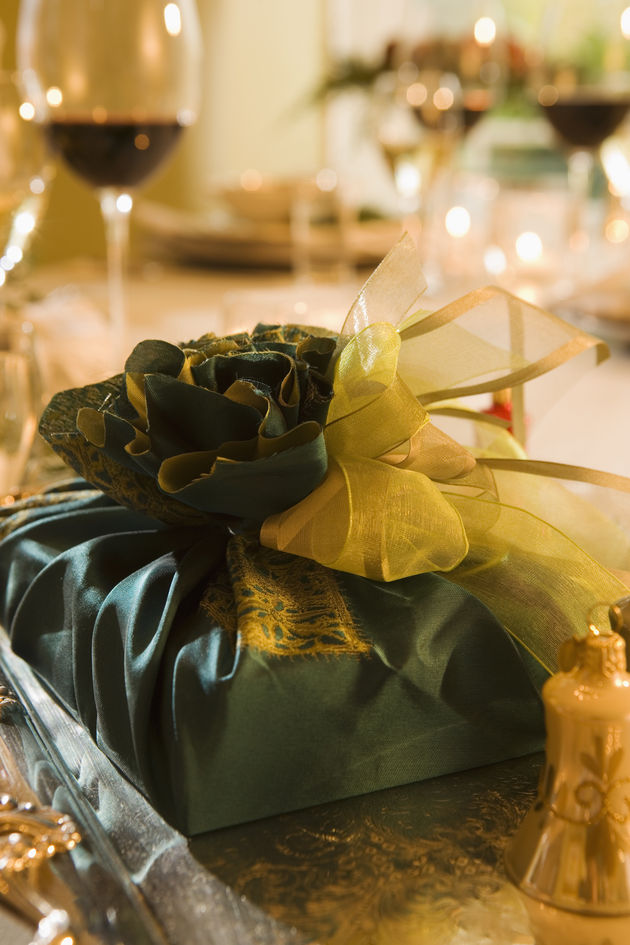
  • Gift list – Start making your gift list. Set a budget and try to stick with it! If you have a Smart Phone, the “Memo” app is great for listing your gift list. That way, when you’re out shopping, you can quickly view your list. You may also want to purchase a few extra gifts to have around for last minute or unexpected guests. I find that candy boxes are a good choice to have around.
  • Holiday cards – Purchase holiday cards and get your card list ready. I suggest handwritten envelopes instead of printed labels, so extra time needs to be allocated for this task. You may want to order photo holiday cards, in which case, you’ll need more time planned to get these photos taken and ordered. Schedule yourself to mail out cards at least two weeks in advance of the holiday.
  • Holiday events– Plan your holiday events well in advance to establish your party guest list and meals. Creating a holiday menu will help you create a shopping list of all the ingredients you’ll need when you go to the grocery store.

Holiday organization

Try these solutions to make the holiday season easier for you:

  • Gift wrap zone – set up an area of a room to wrap gifts, if possible. You can bring out your gift wrap, gift labels, scissors, and tape. If you have a portable, folding table, you can use this for a wrapping table.
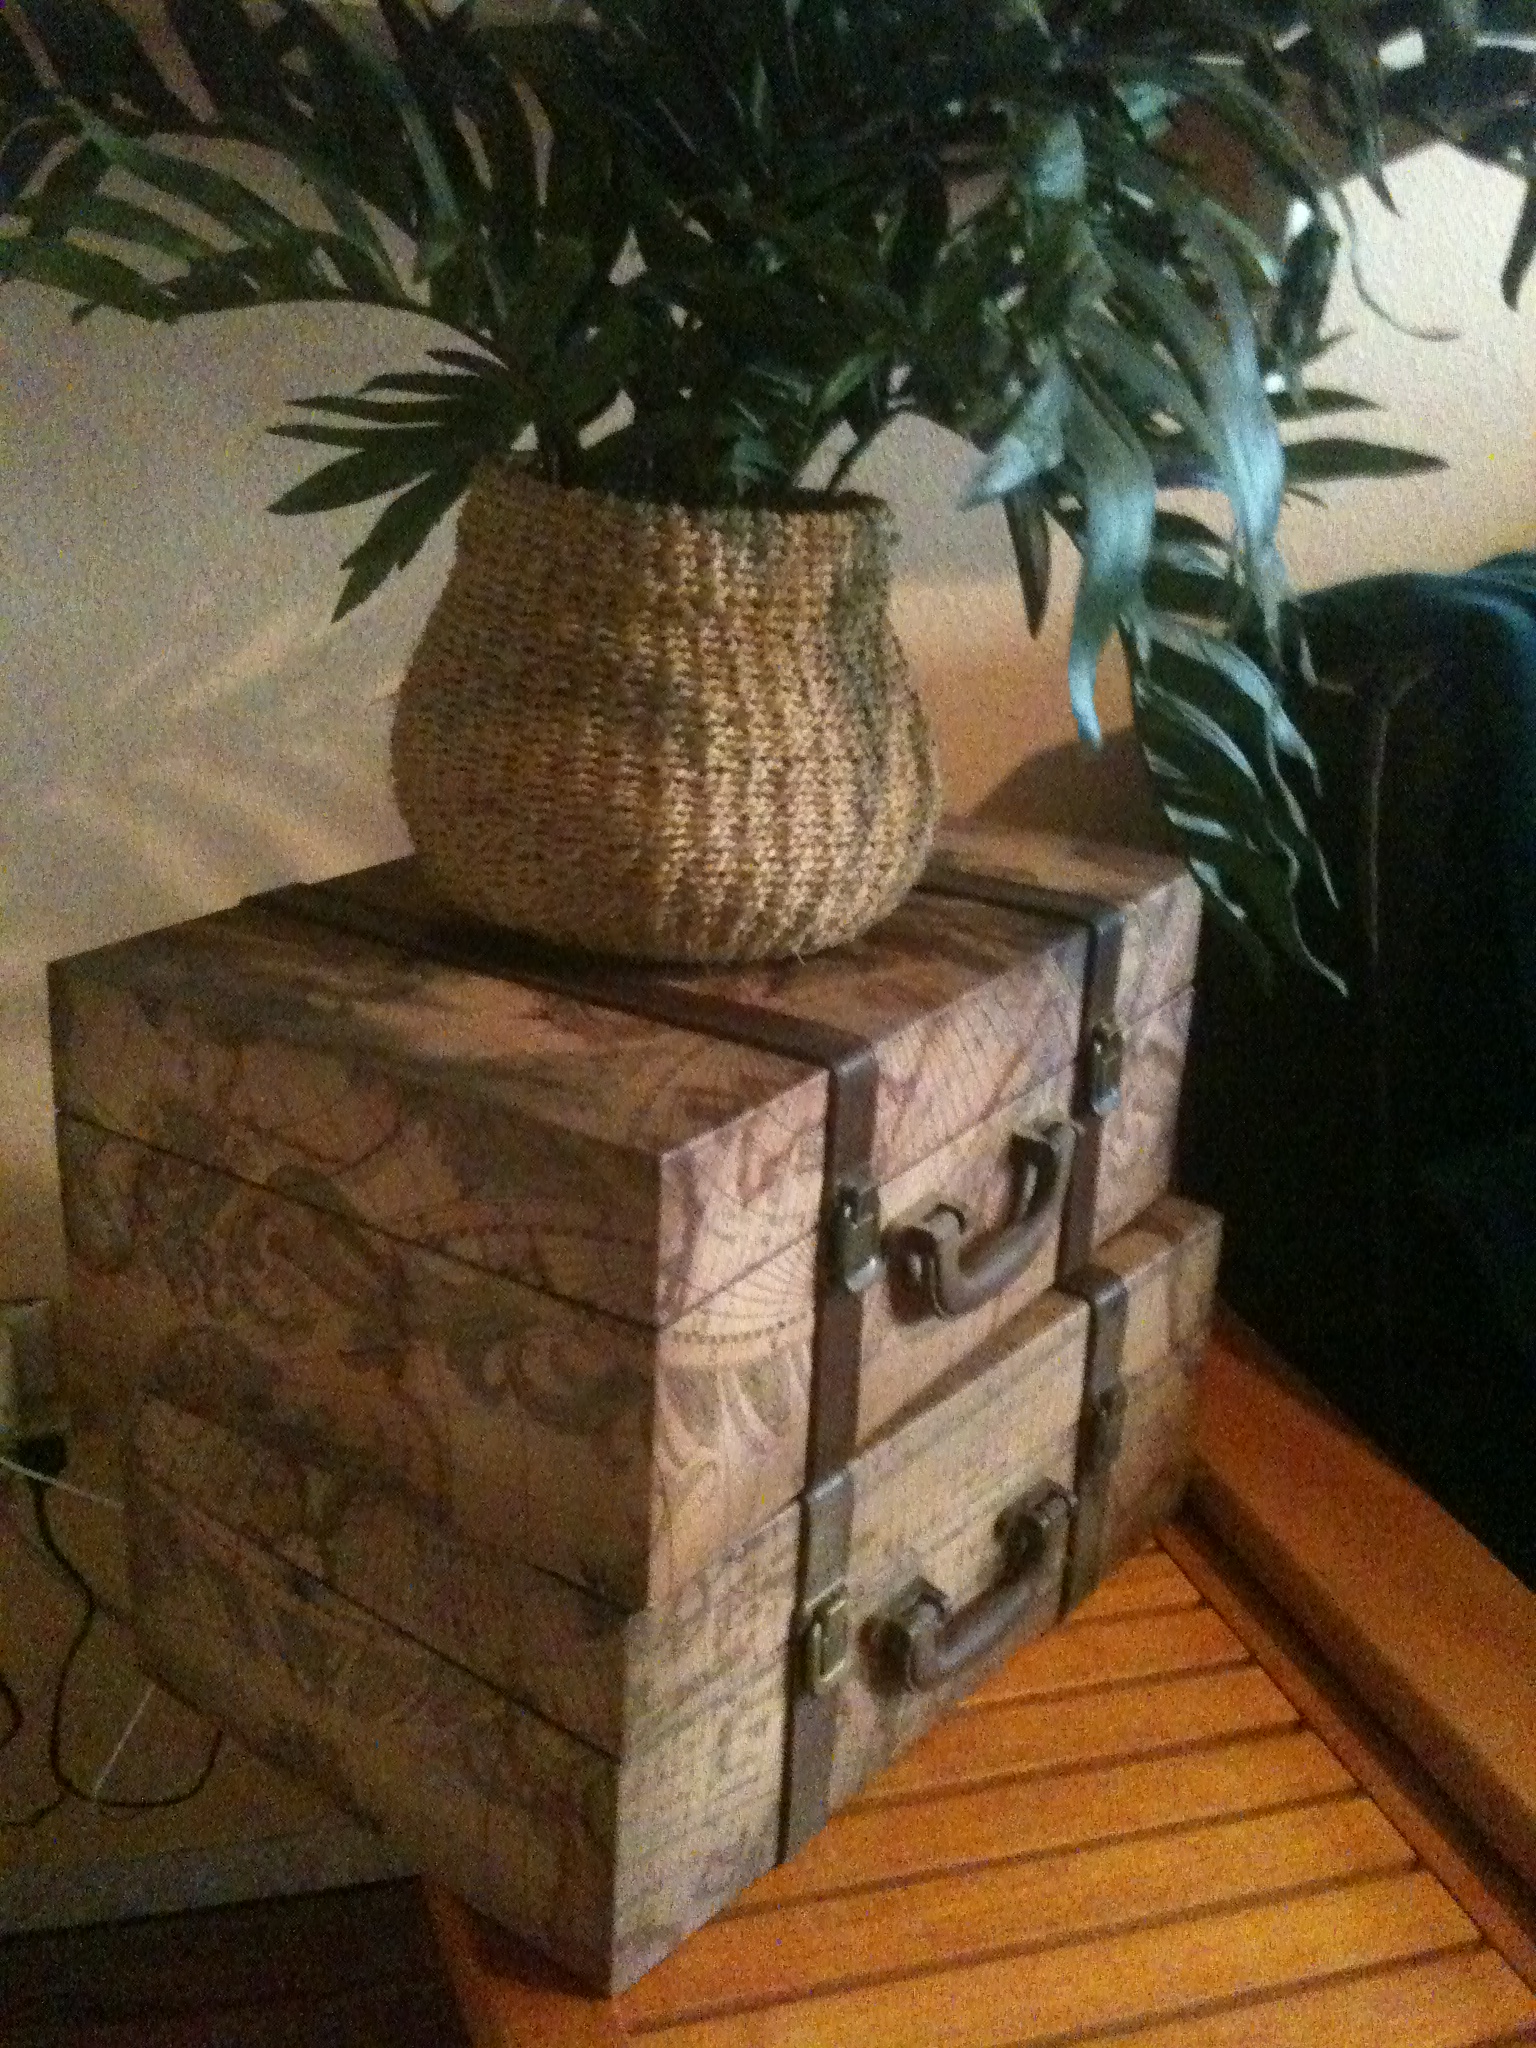
  • Gift zone – establish an area to store purchased gifts, ideally in the gift wrap area. To hide them from prying eyes, you could put them in a locked luggage case.
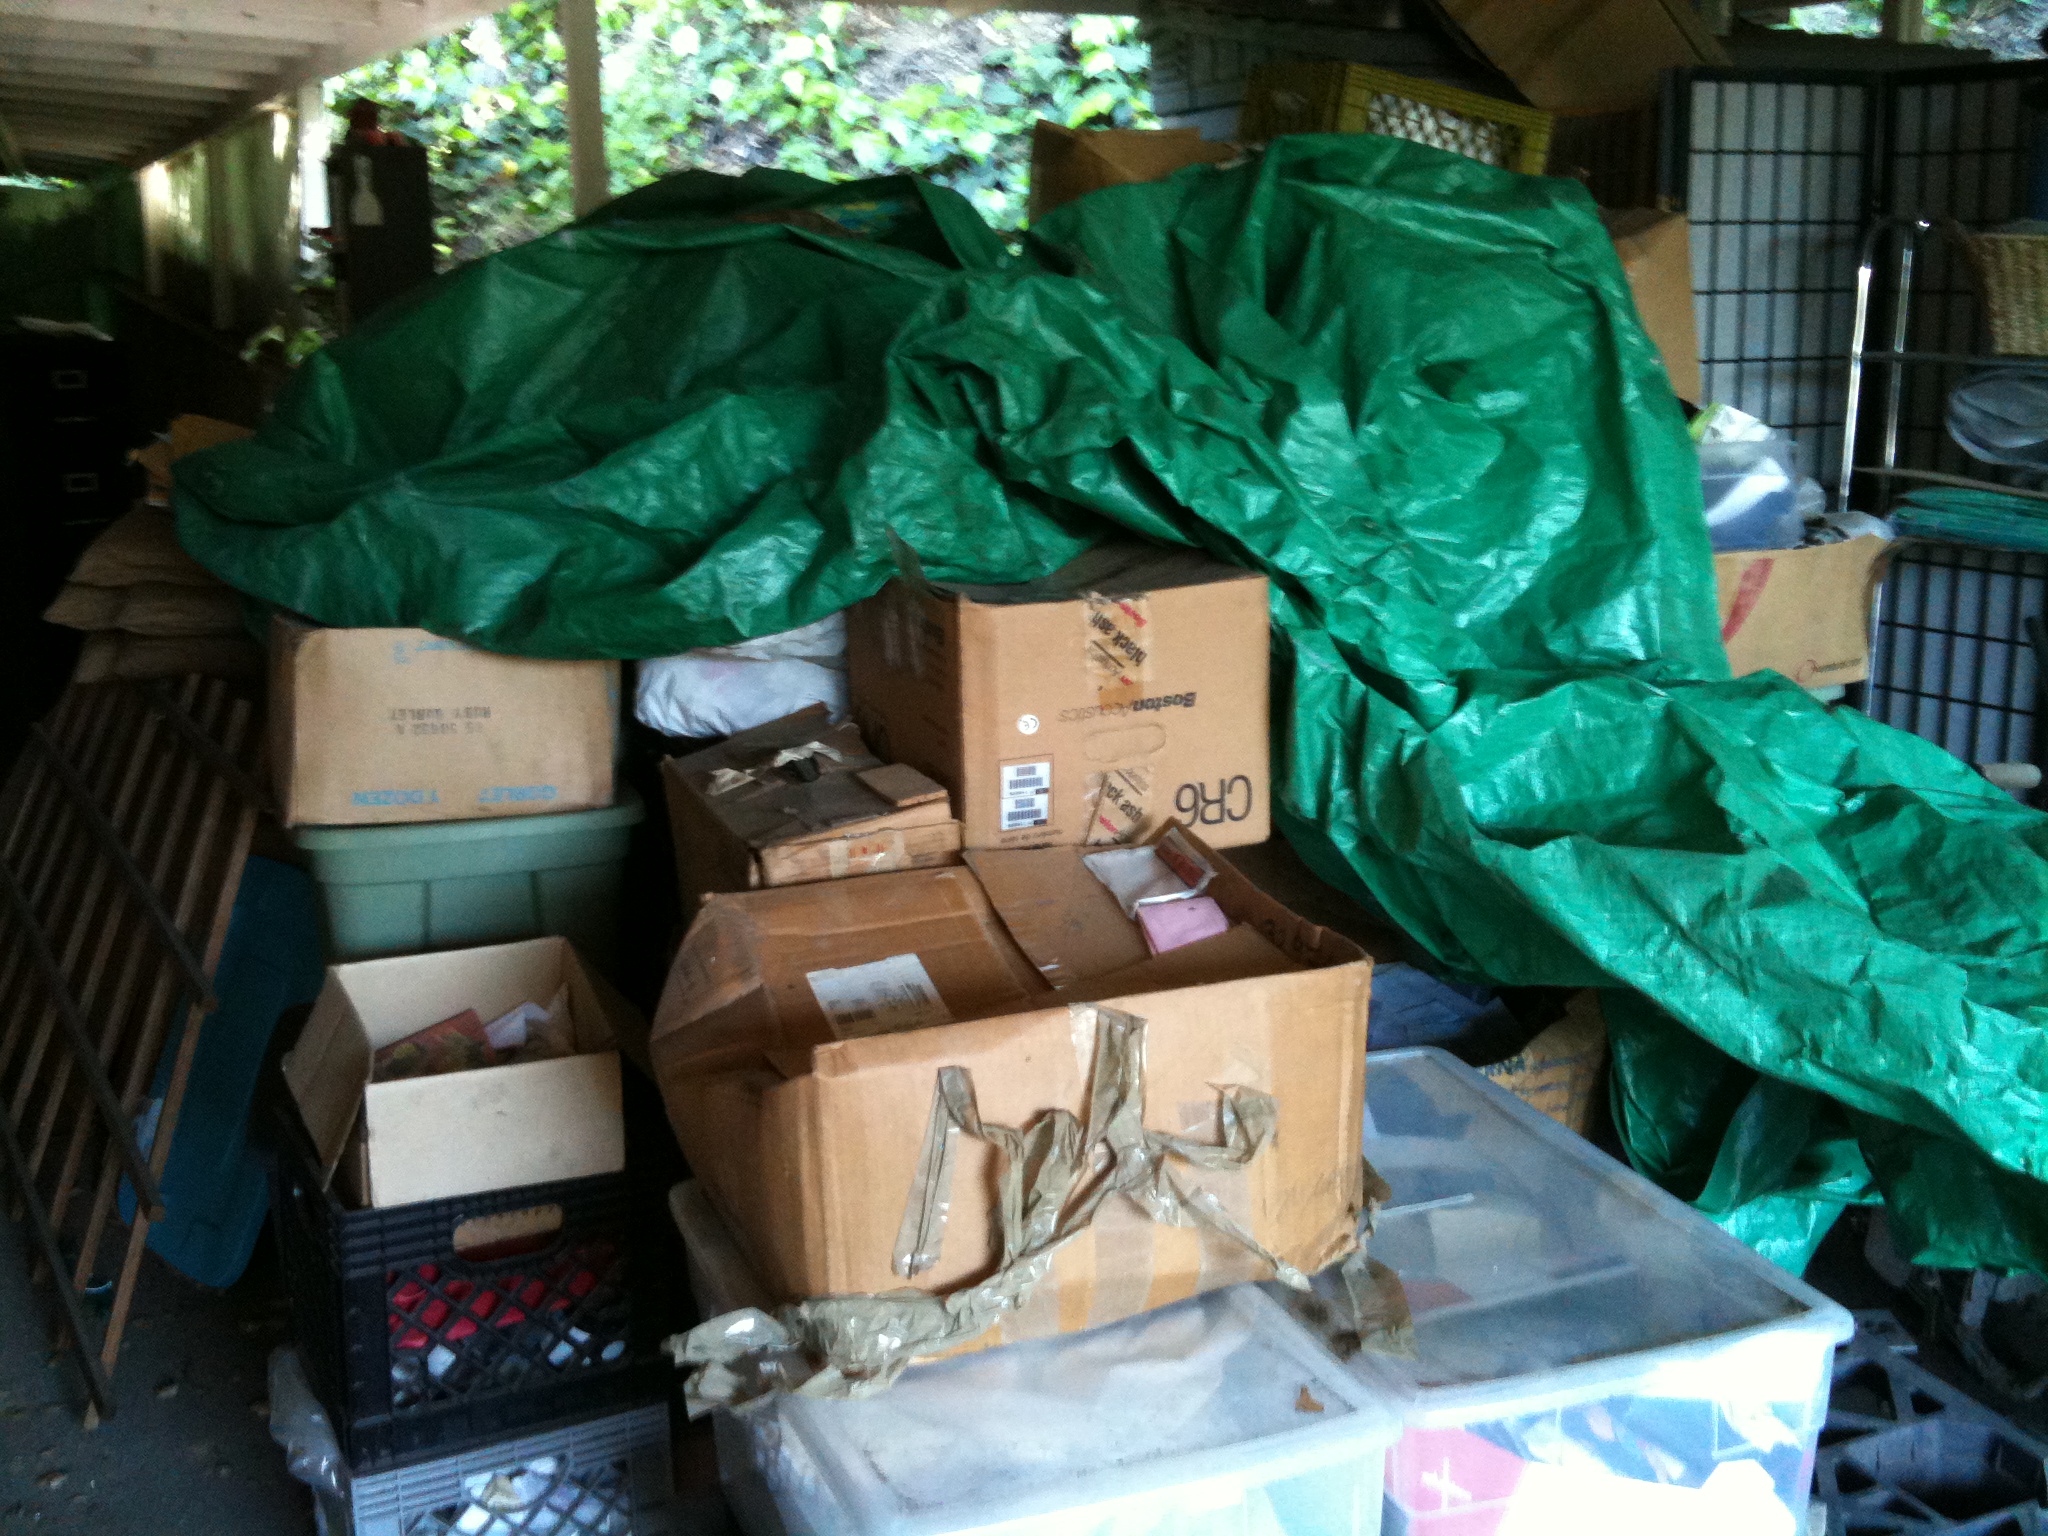
  • Holiday containers – keep your holiday stuff stored in clear plastic bins / containers so that you can keep everything categorized together.

Decorating for the holidays

The best part of the holidays is also the fun part. You can get into the spirit of the holidays with these tips:

  • Declutter your rooms – don’t let clutter grab people’s attention – make sure your holiday decor grabs them instead.
  • Schedule decorating day – You can make an appointment to do this with the family or with friends. Bring out the tree and decorations and have a good time!
  • Keep it simple – try not to overdo it with too many decorations that clutter up and overwhelm the space. Put certain holiday pieces out in certain places, making a couple of them a focal point in the room.

See some more holiday decorating tips.

Make your home guest ready

This is often the time of year when guests come to visit. Here’s how you can make your home welcoming:

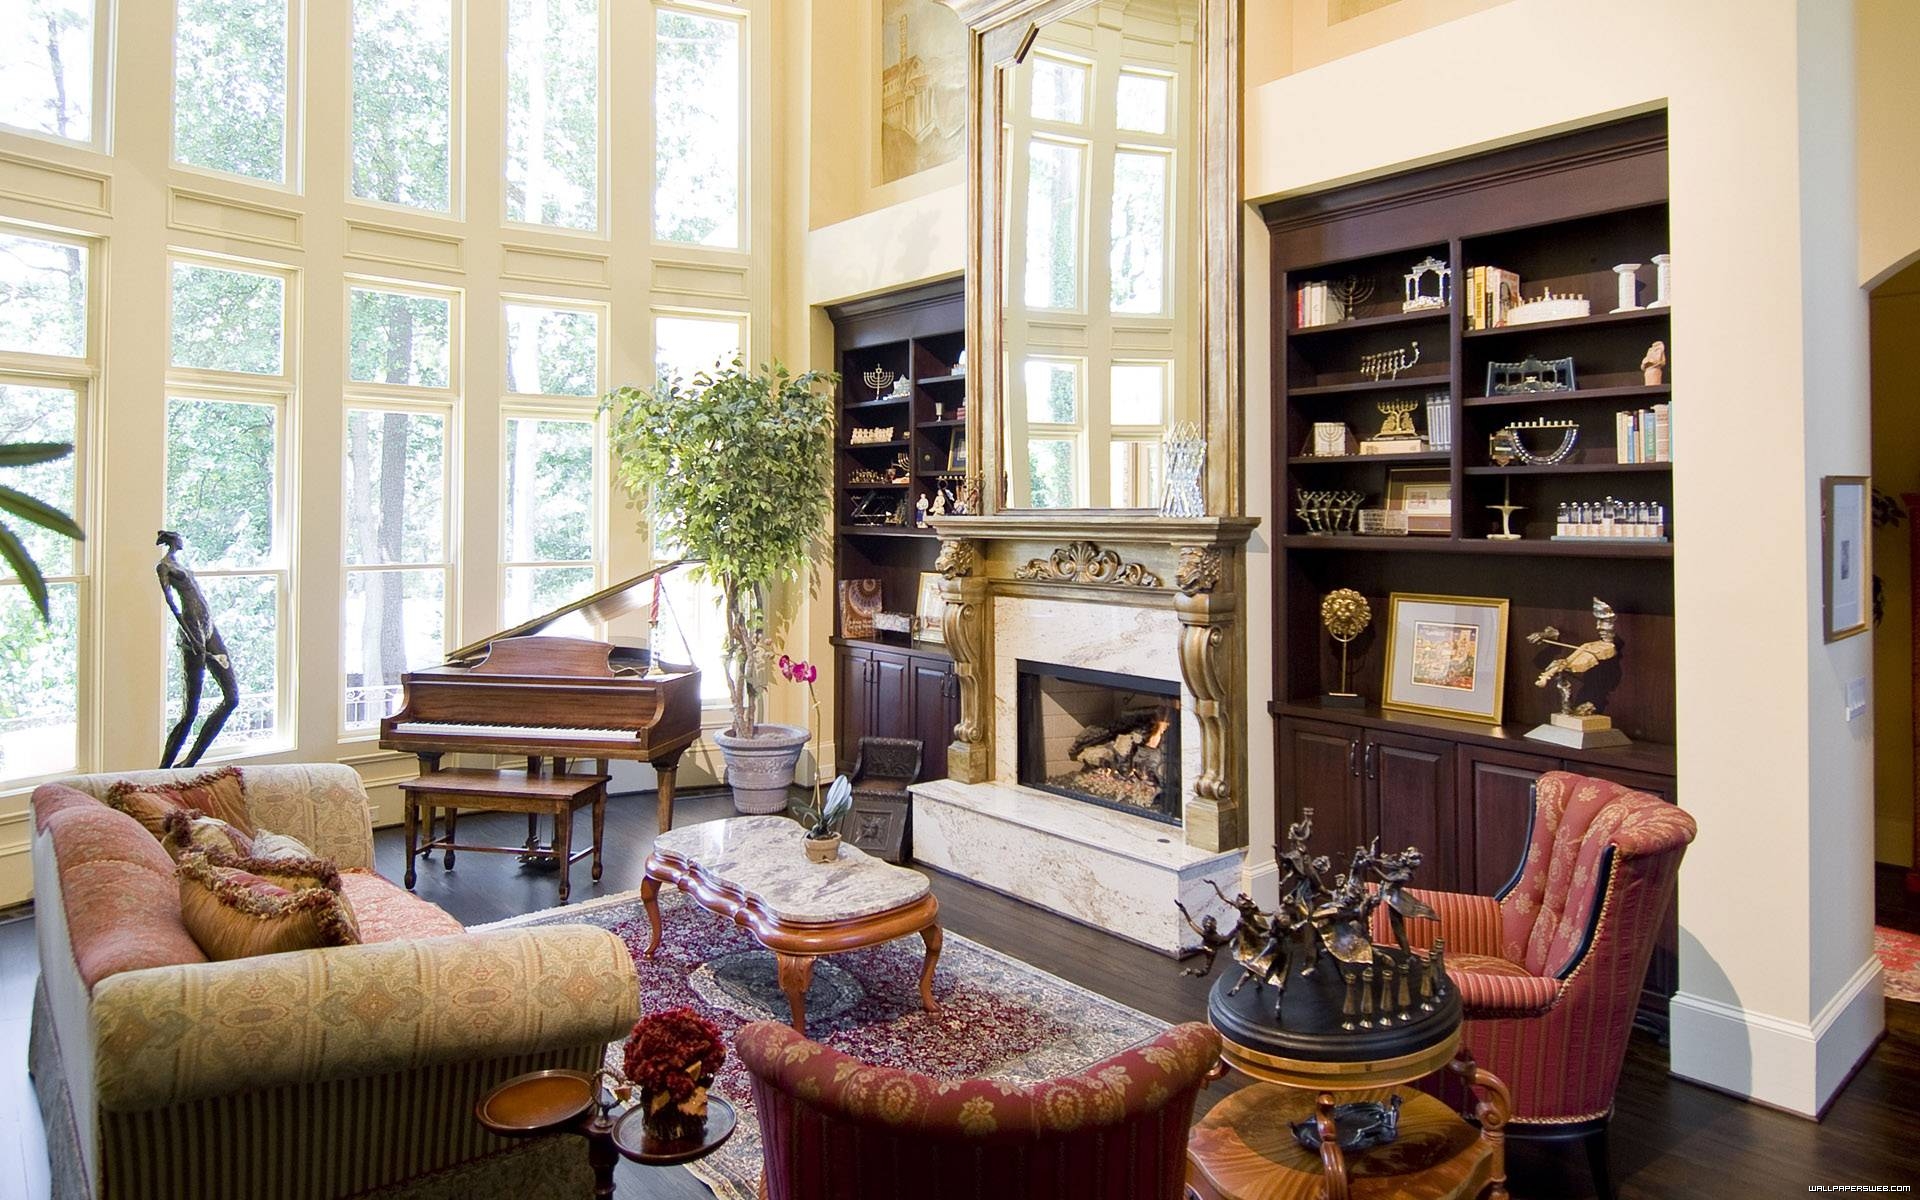
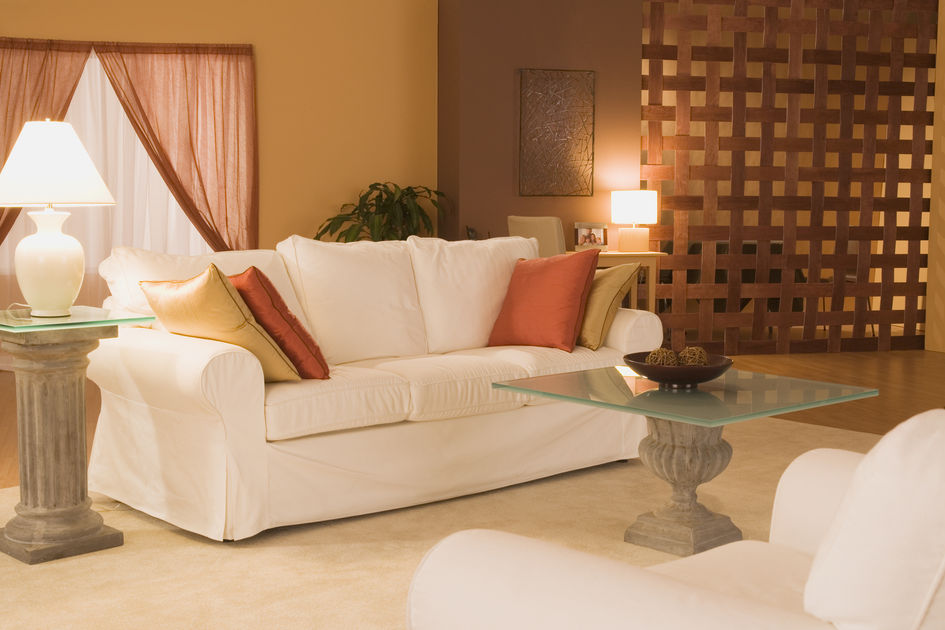
  • Stage gathering areas – These areas would include any areas that a guest will find themselves in, like the kitchen, family and/or living room. It might also include outdoor areas, like the patio. Move out any clutter and add some decorations. You’ll also want to make sure the guest bathroom is clean and tidy.
  • Schedule cleaning day – Whether you have a house cleaner or you’ll do it yourself, don’t wait until the last minute to rush around and clean your house before guests arrive. If you need a house cleaner, make sure you schedule in advance before they get booked up and unable to come when you need them.
  • Prepare guest room – For house guests, check your linens and make sure blankets and towels are clean. You may want to clear out some space in closet or dresser drawers for your guest’s clothing items. Remove any personal, private items you don’t want guests to see. And, if there will be small children, you should child-proof the room, like covering electrical outlet plugs.


An Office Organizational Makeover

We’ve been underway on a re-design and organization makeover project at an office in the Pacific Design Center. And, rather than tell you all about it, we’d like to SHOW you!

Here’s some clips that show us in action doing an office makeover …

Part 1 Doing preparations

Part 2 Assembly day

Part 3 Installations and re-organization

Part 4 Re-organization

Part 5 Final Day – Before / Afters

Hiding Stuff Using Creative Organizing Solutions

I recently wrote an article for The Organized Home Club called “Creative & Decorative Organizing Solutions” that shows how to store stuff in decorative ways.

In the article, there are pictures taken from around my own house showing the various ways I use decorative storage solutions to store certain items in that I want handy. I wanted to share some of these here so you can see how creative we can get!

For instance, I love books around, and use these fake books (often mixed with real books) to store stuff in. Some open up as a box, and others open out as stacking drawers.


With an abundance of decorative shelf baskets in stores these days, it has allowed us to create a more pleasant appearance in our spaces. Wicker and canvas baskets are the most popular, and come in all sizes, shapes, and colors.


Then, there’s those decorative old small luggage cases. I use these to hide away and store items that I don’t have storage room for, and also want to keep handy (nearby).


There are so many creative storage solutions, and we only need to look around at what we already have, or what you see in a store while you’re out shopping.

For other ideas, read “Creative & Decorative Organizing Solutions” and see if this sparks ideas for you!

Organize Your Home Decorating Project

Beginning to embark on your decorating or remodeling adventure can hold all the excitement as creating your dream vacation trip. At least, during the visionary stage, that is. After that, the excitement can often get curtailed when you become overwhelmed with dozens of choices, mounting expense receipts, and the various contractors hired to a task on the project.

Enters in …

The Project Organizer

This is your own custom-made project book in a binder. It’s sort of like a school notebook. All you need to create your own Project Organizer tailor-made for you is:

  • A 1-2″ three-ring binder
  • Subject divider tabs
  • Clear plastic sheet sleeves
  • Pocket sheets
  • Hole-punched paper
  • Pencil holder pouch for a notebook binder

The type of category sections in your binder can be things like:

  • Inspirations (for magazine clippings of favorite furniture, home furnishings and decor, color schemes)
  • Plans (budget plans, general makeover plans, floor plans, etc)
  • Contractors
  • Samples
  • Style Boards

You can have specific categories for remodeling projects, such as flooring, lighting, cabinetry, fabrics, furniture, etc. You can even use categories relating to each room you’re remodeling, like master bedroom, master bath, kitchen, etc.

The main idea for categories is to keep “like items” together relating to your project.

As for the pencil holder pouch, you can use that to hold receipts relating to the project. It keeps everything together in one place, making it easy to find receipts faster if you want to return something.

The clear plastic sheets and pocket sheets can be used to hold clippings or loose paper you accumulate without the need to hole-punch them.

“The Book” is not too complicated, and is very easy to put together yourself. It often takes on a life of its own, so be mindful for expansion! These kind of project books are something you can refer to and store away easily when you’re done.

Online Decorating Tools

Here are a few places that you might find helpful in your decorating project:


Organize and Customize a Home Office

An office in the home should be more than a place you work in – it should be a place you LOVE to be in, as well.

My own home office was a bit stuffy when I first set it up after moving in to my house. The walls were all white, my file cabinets were an “office” gray, I had very little “color” or decor items in it, and there was a homely shelf unit sitting in plain view. Dull, dull, dull.

(Don’t even ask why I stuck a leg coming out of my desk!)

Since I knew I was going to spend a better part of my day in this space, it became important for me to spiff it up a bit.

First thing was to decide what color scheme I wanted in the room. I was going to go with peach tones, purple, and (heaven help me) turquoise.

I then started with painting the walls the two shades I selected (to add dimension and variety to the wall space). While the paint brush was still in my hands, I painted the file cabinets as well!

After several room re-arrangements on paper, I found the arrangement I liked best, and brought in the furniture pieces to situate in their new spot. So far, so good.

The next thing was to get a nice purple cover for my futon to brighten things up, of which was the largest piece of furniture in the room (and my dog’s place of rest).

I complemented that with purple shear curtains to decorate the windows, but  left the blinds there for functionality so I could close out sun glare.

I even made purple velvet curtains over my file cabinets (inside closet area) to hide the stuff on the shelves above it where I stored office supplies and do-dads – all of which were very organized into storage containers and drawer units, of course.

I started purchasing a few other decorative items that served a dual purpose – functionality and decor. For instance, instead of just an ordinary office file holder, I found a decorative rod iron wall rack for my action files. I found a shiny turquoise bulletin board too, which made me so very happy! And turquoise magazine holders, shelf boxes for “stuff”, and of course a turquoise mouse pad.

Because I tend to go a little crazy on the decoration part of this project, I went with floral arrangements in colorful vases, some plant life here and there, a turquoise water fountain, and several other items that give me a “feel good” feeling while hanging out in this space.

My home office is an evolving area, and has gone through a few minor decorative changes here and there. But overall, it has remained a place that makes me happy in it. And that’s what really matters.

Here is a picture of the first phase after the office makeover:

And, here is what’s been done since:


It doesn’t matter if other people like it or not – what matters is that I like it. And, that my dog likes it.

Now, one of these days I’ll get me a new desk!


Car Organization Made Easy

Getting in a tidy car feels as good as entering a tidy room, and visa versa – getting into a messy car feels as bad as entering a messy room.

I find it interesting that some of my friends who have tidy homes are not necessarily the same about their cars. One would think that the habit of tidiness is something that would spill over into other areas of that person’s livingness or living spaces. And, a car is one of those living spaces. However, I don’t find that the tidy habits at home are always applied to the car.

The reason this subject even comes to mind is because we are now in the Summer months and it is hot, and having to wait outside the heat while your friend is moving things around in their car so you can get inside is not so fun.

So I thought I would vent here (which I think I already did).

Car Habits to Maintain Order

Personally, I have “car habits” that were adapted from the time I got my first car. Here are a few of my habits that I hope will help you maintain order in the car:

  • Routine de-cluttering: When I get out of the car, I take any trash with me, as well as any items that go back into the house. I leave no car-clutter inside when I’m done using it.
  • Containment for storing items: Whenever I find that I need to keep certain things inside the car, I get an item to contain it – like a car organizer, or special carry-bag for papers or whatevers. I use a bag hung on the headrest of the seat to store my fabric grocery bags and another bag on other headrest for trash.
  • Clearance of floor space: Because my dog often travels with me, I make a point to keep items off the floor of the car where she needs to make that jump inside. But this habit is also good so that your people passengers who are getting inside don’t have stuff to step over or on top of.

With this simple habits, I’ve managed to keep my car orderly and tidy. The only other thing is the handling of your gadgets, which you can read about from an article I read called “How to Organize and Maintain Your Car To Save You Time, Money, and Effort.


Tips To Make Your Home Smile At You

Entering a home or a room in a home should be an experience, I’ve always said. And, I don’t mean a bad experience either! I’m referring to the kind of experience that provides a good ‘ole feeling; a feeling that makes you smile, whether it’s inwardly or openly.

That kind of feeling is what you might experience as you walk a path along a beautiful botanical garden, or enter the room of a glamorous hotel suite, or visit an art gallery with stunning art, or any number of places or spaces that would bring a smile to your universe.

I once said to a client after organizing one of their living spaces., “This room is smiling at me.” This concept got me so excited at the time, I even wrote a whole article about it in the early 90’s, and have been aiming for “smiling rooms” ever since.

What reminded me of this was a recent article about how to make your home more welcoming, or inviting. The tips were to get rid of clutter, lighten up the room with better lighting, create fragrant aromas, have tasty treats around, and balance your home design.

These are great tips, and I’d like to elaborate on the two that I’ve focused on to create that welcoming effect.

De-cluttering Spaces

Getting rid of clutter will not only free up the space, but it will generate a more peaceful surrounding.

The mere act of collecting up anything that doesn’t belong in that space and putting it into a basket or receptacle to sort later will open up a room to new possibilities. Now that you can actually “see” the room, creative juices may begin to start flowing to bring it into harmony with you.

It’s easier to collect up items in sorting bins at first to make categories for the final sorting process. This is like a “clean sweep” of an area to get everything out of it that doesn’t belong.

Then, in the next stage, these category bins can be dealt with, and decisions can be made on what to keep or get rid of.

Creating Atmosphere

Atmosphere is very important in creating a happy room that smiles at you when you enter it.

By creating the kind of atmosphere that is pleasing to you, that is soothing or peaceful, and that aligns with your sense of design taste, you’ll be able to experience tranquility and harmony in your home area.

Things like changing the color of a room or giving it fresh paint, and adding decor touches here and there, maybe even some new furniture, will contribute to the creation of a harmonious atmosphere.

And that, my dear folks, will give you that safe haven you want!

The thing about creating a happy space that smiles at you when you look at it is that it isn’t just confined to a room. It can be a drawer that smiles when you open it. It can be a happy closet. It can be the interior of your car.

If you’re happy with it, you can rest assure that it is happy with you. Enjoy the feeling.

Cutting Clutter One Box At A Time

The common thing about clutter is, it’s just a bunch of unrelated stuff tossed together in heaps or boxes or bags. As unsightly as it becomes, it still continues to grow if left unattended.

At that point, the stuff is then difficult to confront. Some people don’t actually see it anymore. Funny thing, that is.

It wasn’t until this one hairdresser was faced with a tax audit that he took notice to his “stuff” around him. Not knowing where to begin, he called for help.

The worst area with the most accumulated clutter was in his car port area, so that was going to be the area to tackle first.

There were boxes and bags and bags within boxes and bins all filled with a mixture of paper, household items, hair products and accessories, electronics, clothing, CDs, and old cassettes of music. A large tarp was placed over the stuff – either to hide it or to protect it, who knows.

Starting with one box, the sorting process began. The best things to use for sorting into categories of like-items are any kind of container or box. In this case, we carry our portable foldaway mesh baskets.

It was evident after just a few boxes that the habits of the hairdresser was to swoop up everything lying around the house in preparation for the arrival of some guest, and toss it all in a box or bag together, then put it in the car port, never to be dealt with again.

It was also evident that the hairdresser had good intentions at one time to do something about his clutter habit.

The sorting continued for 3 days, one box and bag at a time, until the only items left to sort were some plastic bins. It was time to sort the paper category to organize those and sift through documents relating to the tax years he was being audited on.

The hairdresser’s task was yet to come, which was the “decision-making” segment on what to keep, what to toss, what to donate or sell. He would have to go through the sorted categories and review the contents, one item at a time. The papers were going to be saved for last, as these were still being sorted.

Progress continued in the car port until everything was sorted and organized into categorized bins.

The mess is gone!


Master Bedroom Gets Makeover

Sometimes we just get tired of  looking at the same old room and wish it to have a whole new look.

It could be that we are tired of the furniture, or the way it is situated in the room, or even the decor, or lack of decor.

The decision to convert the look of a room is often prompted by something, like adding one piece to the room.

That’s what happened to one couple after buying a new bed. Once their new bed and beautiful new bedding arrived in the room, the rest of the stuff in it didn’t look so good to them anymore.

You could say the life-cycle of the room was over.

Since the blue wall colors were still pleasing to the couple, this was the only thing that was to remain unchanged (besides the new bed, of course). The rest of it – the furniture, curtains, wall decor, accessories – was going to be replaced.


Upon interviewing the couple, I was able to determine what they wanted and get a sense of their taste and color preferences.

  • The woman wanted a private work area with a desk for her computer, where she could shut the door and work undisturbed by her two young children.
  • The man wanted a place to hang their new 36″ TV on the wall in view from their bed.

I took these into account, and proposed some other options for the room as well.

One of the suggestions was to get a wardrobe closet unit since their existing shared closet was too small and crowded.

Besides the king bed, this piece of furniture was going to be the largest piece to fit in the relatively small master bedroom.

I started to look around at various wardrobe closets, since it was going to be the largest piece of furniture we were buying for the room. I noted the different sizes they came in, as well as some good choices.

From these choices and size options, I created a floor plan (actually, I created several floor plans before I decided on the best one!). This plan would allow for a 78″ wide closet and area for a 40″ wide desk.

I then created artistic renderings to show the couple what the room would look like. The client decided not to do a canopy over bed however.

The wardrobe closet, dresser, and desk were assembled, and curtains were hung.

Now, it’s a beautiful room, no more clutter, a place for a home office, and plenty of closet space!

All that’s left are touches of decor, some wall shelves, and ceiling lights to finish up the room.

Celebrity Takes Drastic Measures To Get Rid of Clutter

In the news tells how Jennifer Aniston is selling her Beverly Hills mansion to get rid of clutter and get a fresh start in a new place in New York.

The pad is on the market for a whopping $42 million. Aniston bought the property in 2006 for $13.5 million.

But Aniston insists she isn’t offloading the property because she’s short of cash — she’s desperate to de-clutter.

“I couldn’t sleep,” she explains, “and I sort of had one of those moments where I went, I really need to simplify. My life needs to be simplified … clear out the clutter. And along with that thought came, ‘I should sell my house’.

“I had the realization that this is just too much for me. I’m not this person.”

Read full article “Jennifer Aniston Wants to De-Clutter Her Life“.

We wrote about a similar story where a couple moved to a small apartment in a effort to minimize their clutter in “How A Couple Went From Messy To Minimalists“.

It seems the new vogue in dealing with clutter is to move! Well, I must admit, it certainly gave me a fresh start too, and I didn’t have clutter! It was just chance to sort through my stuff and re-evaluate it. And, that’s always a good thing :)

« Older posts Newer posts »