Category: Organizing makeovers

A Bedroom Makeover In Organizational Style

This project was a labor of love, and this already organized vintage-styled bedroom went through an evolution of being a MORE organized bedroom, with many re-decorating touches all over.

It all started in one of the clothes closets. A new solution for the accumulated collection of scarves was needed. So, using two long towel racks side-by-side, the scarves were draped over the rods along the inside wall of the small walk-in closet. Purses were hung on over-the-door hooks, as well as a hook-hanger at the end of the clothes rod.

Seasonal clothes were switched from one closet to the other because the cool weather clothing was becoming too big for the smaller closet they were in.  However this created a space issue for the warm weather clothing being moved from the large reach-in closet to the smaller walk-in closet.

It all worked out (of course!), thanks to switching from plastic hangers to slim velvet hangers. Top that off with the use of cascading hooks in the smaller closet, along with a double hang rod in the larger closet, and the space in both closets were doubled!

The only thing left to do was replace the rest of the plastic hangers with slim velvet hangers in the larger reach-in closet.

So, with the closet re-organization done, it was time to re-decorate!

It was decided that a good starting point was the mirrored sliding doors on the reach-in closet that was just finished. With the mirror facing the bed, it is believed that this is “bad Feng Shui”, therefore had to go!

Curtains have become a trend for replacing sliding closet doors – especially because large sliding doors are heavy to push and often hide a portion of the closet when opened (due to overlap), which these did.

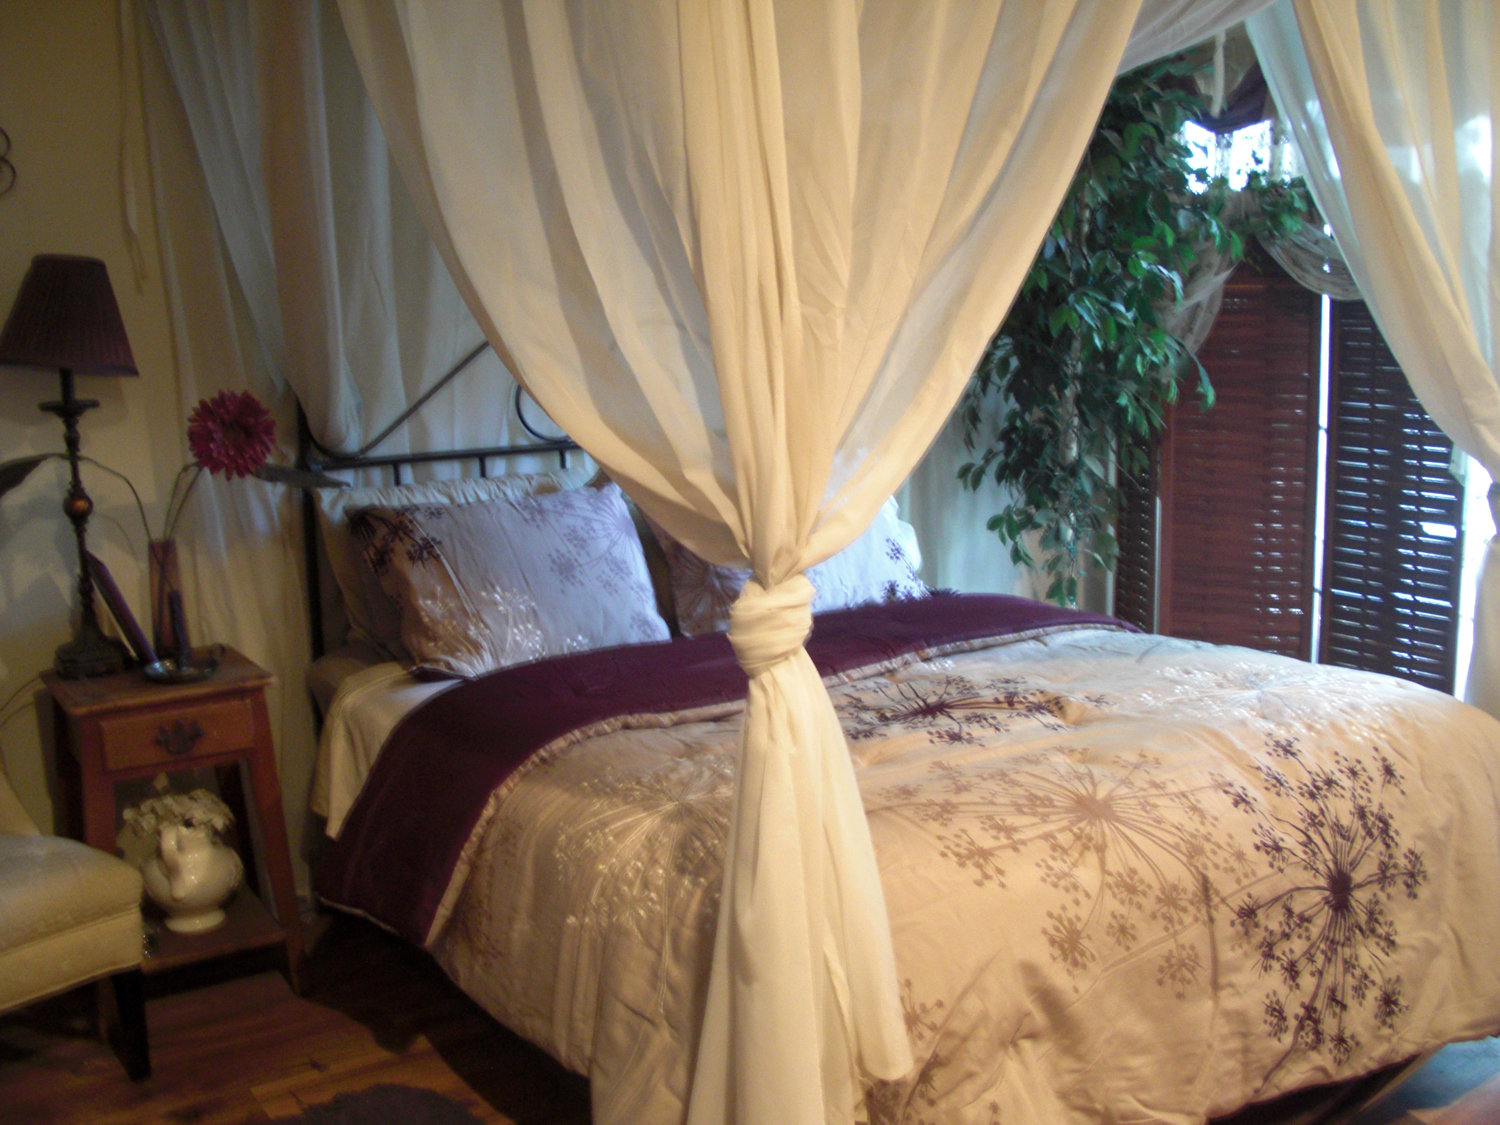
Replacing the doors with curtain panels in three different colors (purple, beige, ivory) really added a nice feel to the room. And no more issues with hard-to-reach clothing!

Now that the curtains were hung, the rest of the room remained a bit tired (that’s dull and drab in British terms), and the new color scheme in the curtains were begging to be incorporated with the rest of the room.

Here’s a couple views of the “before” – with dark green tones on bedspread, chair cover and throw blanket, and no other color, per se. There were actually some decorating evolutions before finally changing out color scheme (like adding a new headboard).

Then, to brighten up the space, a lighter color bedspread with accents of purple from the curtains would bring it all together. That, and removing the dark chair cover, and adding a purple throw pillow. And, wha-la! …

Other decorating touches were just moving items and wall hangings around. I just love this long-legged bird!

I didn’t move the location of the vintage woman with tray next to the vanity table, but I did re-organize what was on the tray and de-cluttered it some.

I also tidied up the makeup tray.

The items on the top of the dresser were also  replaced with fewer decorative items. Less is more, right?! (Like, “more better”, if I didn’t have to correct my grammar!)

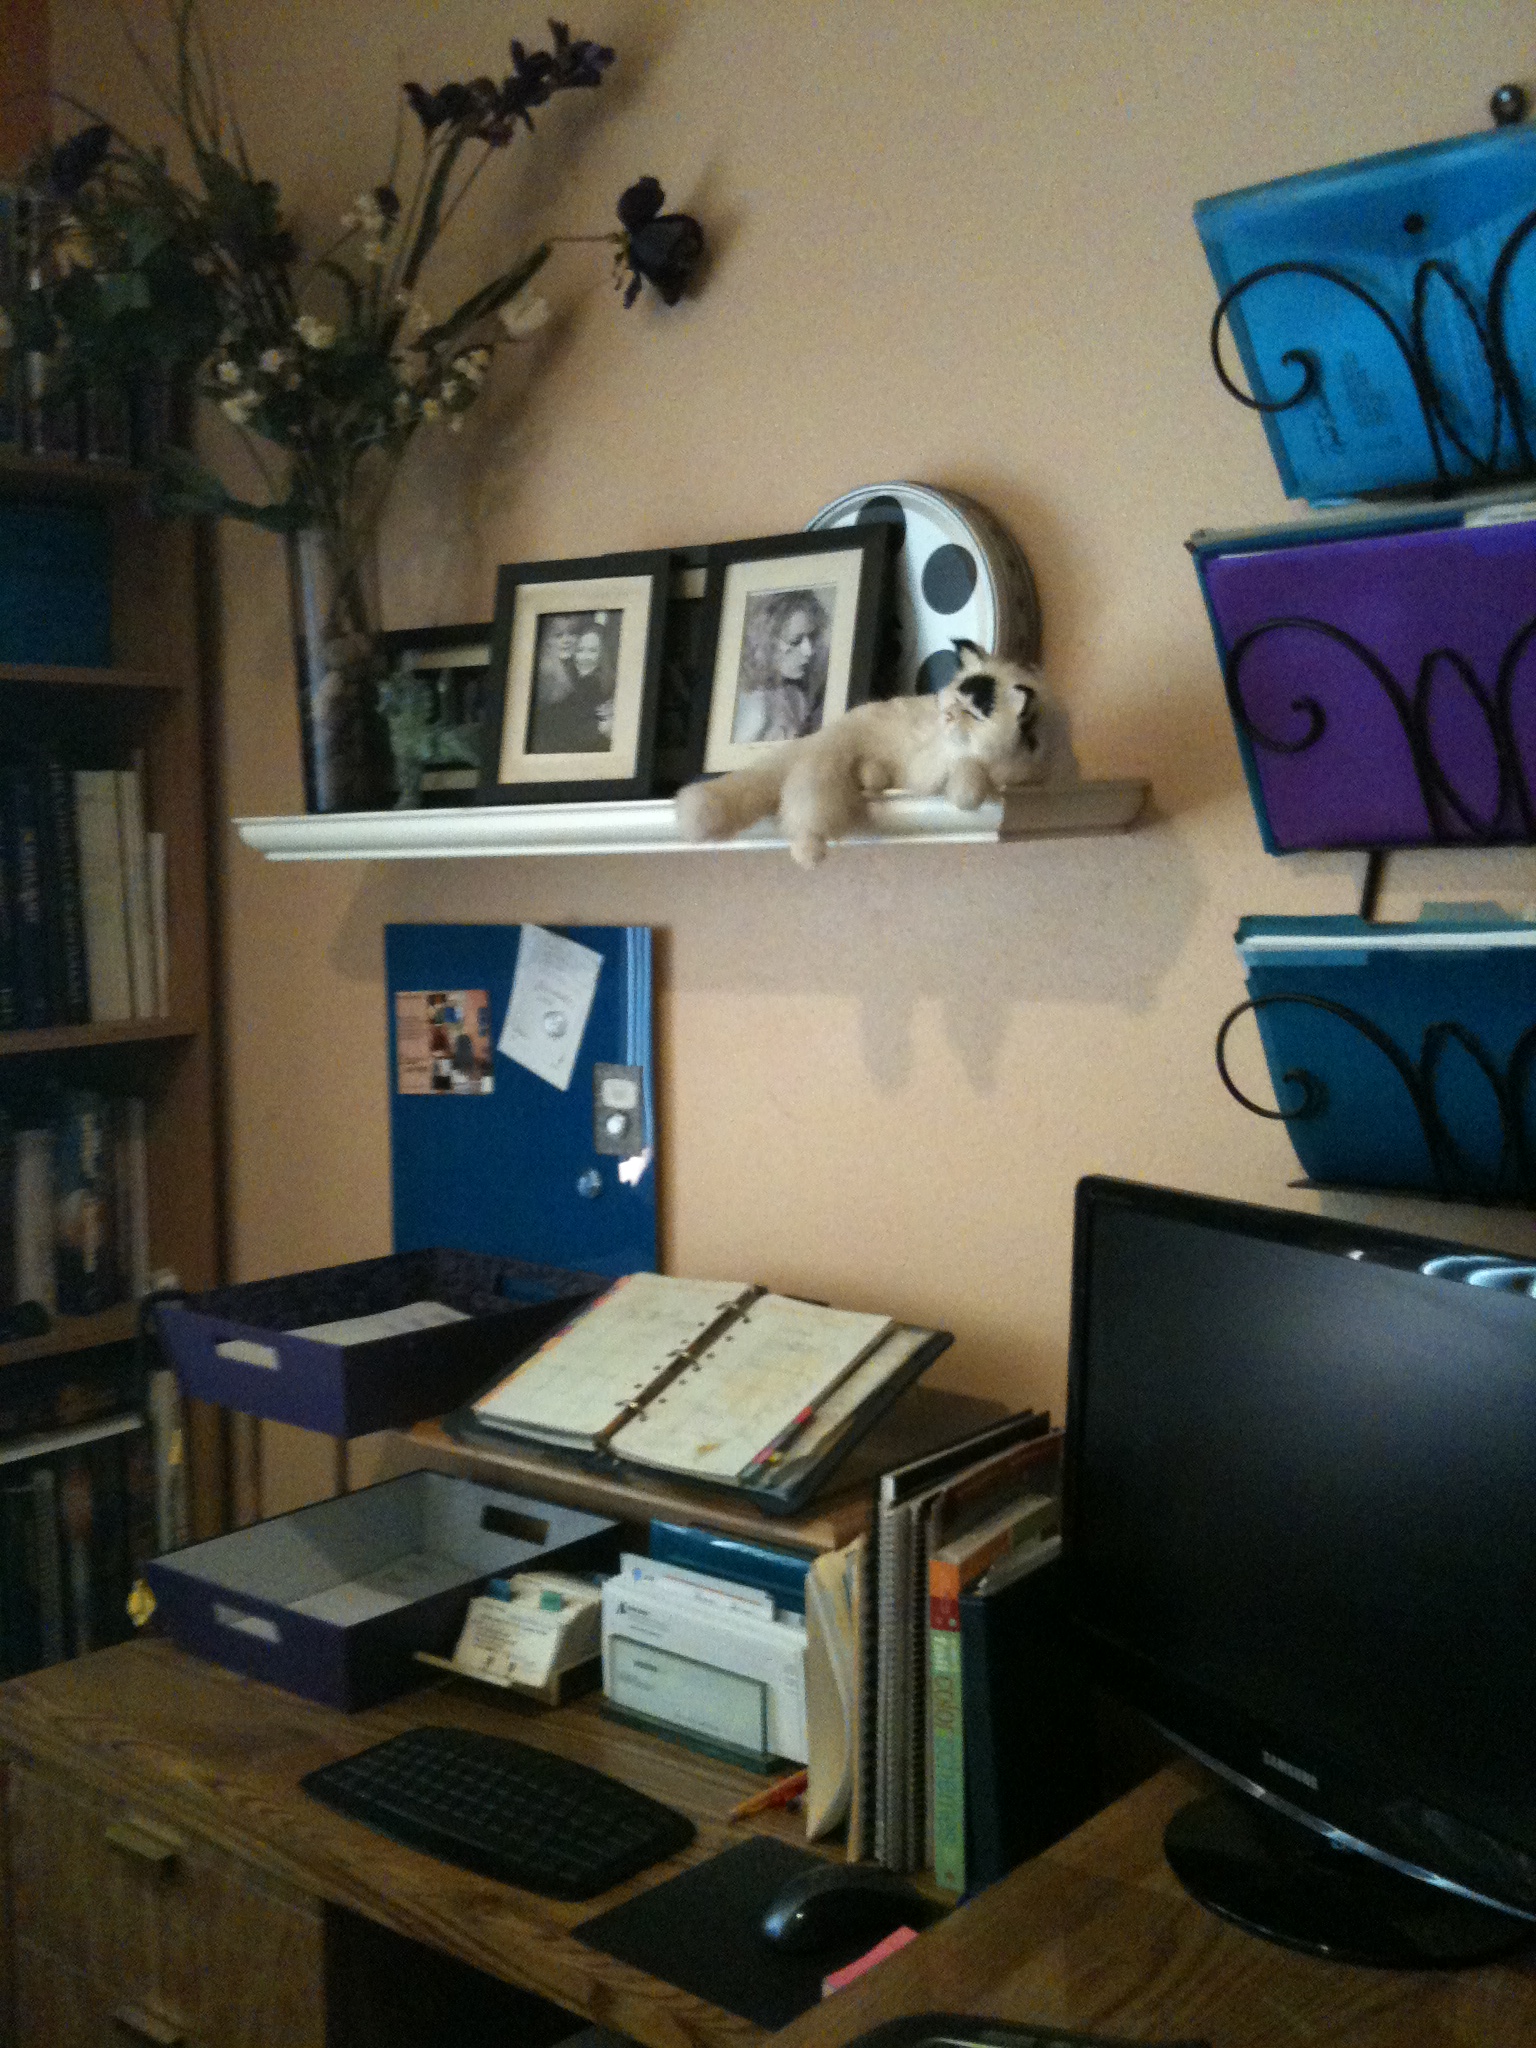
One of the walls took on a different look (although I’m wanting to add some more to this photo collection). These replaced an over-sized painting that was hidden when the floor mirror got moved in that space. That painting is displayed in another room now.

The last, but not least thing I wanted to do was re-organize the jewelry. Before, short necklaces were organized on an unattractive plastic hook-thingy (I believe a tie or belt hook-hanger) which was hung on the wall (and, by the way, wasn’t meant to be a wall hanging item!).

This was replaced with a jewelry organizer made from a toilet paper holder and S-hooks. (Note that, for clients who have more necklaces, I’ve used a towel rack and shower curtain hooks for hanging necklaces).

And these are hung right next to the table-top necklace-holder next to a viewing mirror.

So, there you have it! A bedroom that’s not so tired anymore!

Before:

After:


An Office Organizational Makeover

We’ve been underway on a re-design and organization makeover project at an office in the Pacific Design Center. And, rather than tell you all about it, we’d like to SHOW you!

Here’s some clips that show us in action doing an office makeover …

Part 1 Doing preparations

Part 2 Assembly day

Part 3 Installations and re-organization

Part 4 Re-organization

Part 5 Final Day – Before / Afters

Organize and Customize a Home Office

An office in the home should be more than a place you work in – it should be a place you LOVE to be in, as well.

My own home office was a bit stuffy when I first set it up after moving in to my house. The walls were all white, my file cabinets were an “office” gray, I had very little “color” or decor items in it, and there was a homely shelf unit sitting in plain view. Dull, dull, dull.

(Don’t even ask why I stuck a leg coming out of my desk!)

Since I knew I was going to spend a better part of my day in this space, it became important for me to spiff it up a bit.

First thing was to decide what color scheme I wanted in the room. I was going to go with peach tones, purple, and (heaven help me) turquoise.

I then started with painting the walls the two shades I selected (to add dimension and variety to the wall space). While the paint brush was still in my hands, I painted the file cabinets as well!

After several room re-arrangements on paper, I found the arrangement I liked best, and brought in the furniture pieces to situate in their new spot. So far, so good.

The next thing was to get a nice purple cover for my futon to brighten things up, of which was the largest piece of furniture in the room (and my dog’s place of rest).

I complemented that with purple shear curtains to decorate the windows, but  left the blinds there for functionality so I could close out sun glare.

I even made purple velvet curtains over my file cabinets (inside closet area) to hide the stuff on the shelves above it where I stored office supplies and do-dads – all of which were very organized into storage containers and drawer units, of course.

I started purchasing a few other decorative items that served a dual purpose – functionality and decor. For instance, instead of just an ordinary office file holder, I found a decorative rod iron wall rack for my action files. I found a shiny turquoise bulletin board too, which made me so very happy! And turquoise magazine holders, shelf boxes for “stuff”, and of course a turquoise mouse pad.

Because I tend to go a little crazy on the decoration part of this project, I went with floral arrangements in colorful vases, some plant life here and there, a turquoise water fountain, and several other items that give me a “feel good” feeling while hanging out in this space.

My home office is an evolving area, and has gone through a few minor decorative changes here and there. But overall, it has remained a place that makes me happy in it. And that’s what really matters.

Here is a picture of the first phase after the office makeover:

And, here is what’s been done since:


It doesn’t matter if other people like it or not – what matters is that I like it. And, that my dog likes it.

Now, one of these days I’ll get me a new desk!


Cutting Clutter One Box At A Time

The common thing about clutter is, it’s just a bunch of unrelated stuff tossed together in heaps or boxes or bags. As unsightly as it becomes, it still continues to grow if left unattended.

At that point, the stuff is then difficult to confront. Some people don’t actually see it anymore. Funny thing, that is.

It wasn’t until this one hairdresser was faced with a tax audit that he took notice to his “stuff” around him. Not knowing where to begin, he called for help.

The worst area with the most accumulated clutter was in his car port area, so that was going to be the area to tackle first.

There were boxes and bags and bags within boxes and bins all filled with a mixture of paper, household items, hair products and accessories, electronics, clothing, CDs, and old cassettes of music. A large tarp was placed over the stuff – either to hide it or to protect it, who knows.

Starting with one box, the sorting process began. The best things to use for sorting into categories of like-items are any kind of container or box. In this case, we carry our portable foldaway mesh baskets.

It was evident after just a few boxes that the habits of the hairdresser was to swoop up everything lying around the house in preparation for the arrival of some guest, and toss it all in a box or bag together, then put it in the car port, never to be dealt with again.

It was also evident that the hairdresser had good intentions at one time to do something about his clutter habit.

The sorting continued for 3 days, one box and bag at a time, until the only items left to sort were some plastic bins. It was time to sort the paper category to organize those and sift through documents relating to the tax years he was being audited on.

The hairdresser’s task was yet to come, which was the “decision-making” segment on what to keep, what to toss, what to donate or sell. He would have to go through the sorted categories and review the contents, one item at a time. The papers were going to be saved for last, as these were still being sorted.

Progress continued in the car port until everything was sorted and organized into categorized bins.

The mess is gone!


Master Bedroom Gets Makeover

Sometimes we just get tired of  looking at the same old room and wish it to have a whole new look.

It could be that we are tired of the furniture, or the way it is situated in the room, or even the decor, or lack of decor.

The decision to convert the look of a room is often prompted by something, like adding one piece to the room.

That’s what happened to one couple after buying a new bed. Once their new bed and beautiful new bedding arrived in the room, the rest of the stuff in it didn’t look so good to them anymore.

You could say the life-cycle of the room was over.

Since the blue wall colors were still pleasing to the couple, this was the only thing that was to remain unchanged (besides the new bed, of course). The rest of it – the furniture, curtains, wall decor, accessories – was going to be replaced.


Upon interviewing the couple, I was able to determine what they wanted and get a sense of their taste and color preferences.

  • The woman wanted a private work area with a desk for her computer, where she could shut the door and work undisturbed by her two young children.
  • The man wanted a place to hang their new 36″ TV on the wall in view from their bed.

I took these into account, and proposed some other options for the room as well.

One of the suggestions was to get a wardrobe closet unit since their existing shared closet was too small and crowded.

Besides the king bed, this piece of furniture was going to be the largest piece to fit in the relatively small master bedroom.

I started to look around at various wardrobe closets, since it was going to be the largest piece of furniture we were buying for the room. I noted the different sizes they came in, as well as some good choices.

From these choices and size options, I created a floor plan (actually, I created several floor plans before I decided on the best one!). This plan would allow for a 78″ wide closet and area for a 40″ wide desk.

I then created artistic renderings to show the couple what the room would look like. The client decided not to do a canopy over bed however.

The wardrobe closet, dresser, and desk were assembled, and curtains were hung.

Now, it’s a beautiful room, no more clutter, a place for a home office, and plenty of closet space!

All that’s left are touches of decor, some wall shelves, and ceiling lights to finish up the room.