Category: Tid-bits (Page 2 of 4)

To Be Or Not To Be … Organized

To be, or not to be. That is the question. But, to be what?

On Halloween, we can be anyone or anything we want (I bring that up since today is Halloween!). And on other days, we’re supposed to be, or not be someone, right?

The answer on who to be can be as simple as be yourself. But then the question may come, “who are you?”

You can BE many identities. You can be a wife or husband, mother or father, an entrepreneur, a company employee, a girlfriend or boyfriend, and so on and so forth.

You can also BE someone who fits a personality, or a “type” of someone. You can be a playful person, a silly person, a serious person, an organized person, and so on.

Being an organized person isn’t something you can dress up as for Halloween though. However it is something that can make your life a whole lot easier.

Happy Halloween everyone!

Making A Guest Room Guest-friendly

Since it’s Spring, it seems like a good time to take a look at preparing your guest room for those loved ones who are planning to come visit you during their Spring or Summer vacations.

Sure, that spare room allocated for guests is probably almost-ready-to-go, so to speak, but maybe it can be enchanted with a little creativity. What I mean is, you could possibly go with a certain theme for the room to give it some pazazz, like I did with my now “Hollywood Room”.

My guests love all the various Hollywood paraphernalia I added in the room. From vintage movie posters on the walls to collectible decor items to coffee-table movie books, they all give a cohesive style and feeling to the room.

Of course, I keep a set of clean bed linens, extra blankets, some guest towels, and a new bar of soap around for them too. And, for that extra touch, you could even add a mint on the pillow, just like a fancy hotel!

All of these efforts into creating a unique setting will tell your visitors that you care, that they are special and deserve special treatment. There’s a degree of joy in creating that effect, I promise you.

Happy creations! And, if you do something like this, or have already done it, please share photos in your comments!

Here are my photos …

IMG_3182

IMG_3183

IMG_3187

25 Creative Ways To Use and Store Items

Boxes, baskets and bins, oh my! With such an array of containers to contain our stuff, we really have no excuse to clutter up our spaces, do we?

I totally understand that this is easier said than done for some people. That’s usually because, often times, it just comes down to not knowing how to use what we already have to get organized. Sometimes, we just need a little guidance or a little inspiration to get us going. So, that’s what you’ll get here!

Types of Storage Containers

As I mentioned, containers have one sole purpose in life – to contain or hold things. No rocket-science needed for that bit of knowledge! The idea here is to find creative uses to store “like-items” (items that are alike, or in same category of).

This can be done using:

  • plastic holders
  • decorative baskets
  • storage bins
  • jars or bottles
  • cans
  • boxes or crates
  • cartons
  • buckets
  • chest or old suitcase

Basically, it’s ANYTHING that holds a physical object.

And now that we know this, let’s SEE all the different ways to use them! I’ve compiled 25 of my favorite creative uses of these containers from my “Stylish Home Organization” Pinterest board (in no particular order):

Plastic containers. From Pinterest


Drawer containers. From Pinterest

Craft armoire storage. From Pinterest


Wire baskets. From Pinterest


Canvas bins. From Pinterest

Pantry storage. From Pinterest

Fridge bins. From Pinterest

Fridge containers. From Pinterest

Magnetic boxes. From Pinterest

Decorative boxes. From Pinterest

Labeled jars. From Pinterest

Waste basket on wheels. From Pinterest

Craft room plastic containers. From Pinterest

Plastic mag holders. From Pinterest

Canvas bins with labels. From Pinterest

Basket with dividers. From Pinterest

Basket tray. From Pinterest

Basket for folders. From Pinterest

Basket for cutting boards. From Pinterest

Baskets for bathroom. From Pinterest

Baskets and jars. From Pinterest

Decorative bin for guest bath. From Pinterest

Bins in linen closet. From Pinterest

Box on wheels under bed. From Pinterest

Compartmental plastic storage box. From Pinterest

Leave a comment with your favorite creative storage ideas!


De-cluttering Garage The Fun Way

On a recent garage organizing project, we we able to catch one of our professional organizers Molly Hewell at work with a client.

Watch the garage organization video and see that it is not as difficult a task as you might think, if done with others and if you know how to tackle it!

As you’ll see, there is a “Keep” area, a “Sell” area, and a sorting area. What the client doesn’t sell, she will donate. The sorting area are bins of papers to sort later after garage items are placed back inside in a designated “home” spot or zone for them.

How do you tackle organizing a garage?

Organizing Ideas For Wall Spaces To Get Organized

I’ve been spending a lot of time on Pinterest lately, especially pinning to my Stylish Home Organization board on Pinterest, and am astonished by the amount of fabulous organizing products and solutions I find there.

These images come from various resources, and there is such a vast arena of creative, stylish, and do-it-yourself storage solutions which would organize practically anything you can imagine. I’d like to share some of the ideas for wall spaces with you.

Wall-hanging Organizing Solutions for Paper

A resource like MarthaStewart.com presents her line of products, like these Shagreen Pockets, which hang on a wall surface  and is good for keeping papers off counter-tops. These are available at Staples stores.

Image source: Pinterest

Another Martha Stewart product line at Staples are these Stack+Fit white organizers with built-in labels that you can peg onto the wall and use as a mail or action center.

Image source: Pinterest

And there are these wall pockets with labels, which I believe might be from the same product line. These pockets hold more papers, files, magazines, school work, etc., and can be grouped together to create an action or office center.

Image source: Pinterest

Other wall hanging solutions for paper come from various creative ideas, mostly do-it-yourself ideas from re-purposed products.

Image source: Pinterest

xx

Image source: Pinterest

Image source: Pinterest

Image source: Pinterest

Image source: Pinterest

Wall-hanging Organizing Solutions for Everything Else

Image source: Pinterest

Image source: Pinterest

Image source: Pinterest

Image source: Pinterest

Image source: HandyGirl Organizers

Image source: Pinterest

For more ideas, check out my Pinterest board on organizing product solutions! And, let me know what solutions you found that you’d like to recommend!


A Bedroom Makeover In Organizational Style

This project was a labor of love, and this already organized vintage-styled bedroom went through an evolution of being a MORE organized bedroom, with many re-decorating touches all over.

It all started in one of the clothes closets. A new solution for the accumulated collection of scarves was needed. So, using two long towel racks side-by-side, the scarves were draped over the rods along the inside wall of the small walk-in closet. Purses were hung on over-the-door hooks, as well as a hook-hanger at the end of the clothes rod.

Seasonal clothes were switched from one closet to the other because the cool weather clothing was becoming too big for the smaller closet they were in.  However this created a space issue for the warm weather clothing being moved from the large reach-in closet to the smaller walk-in closet.

It all worked out (of course!), thanks to switching from plastic hangers to slim velvet hangers. Top that off with the use of cascading hooks in the smaller closet, along with a double hang rod in the larger closet, and the space in both closets were doubled!

The only thing left to do was replace the rest of the plastic hangers with slim velvet hangers in the larger reach-in closet.

So, with the closet re-organization done, it was time to re-decorate!

It was decided that a good starting point was the mirrored sliding doors on the reach-in closet that was just finished. With the mirror facing the bed, it is believed that this is “bad Feng Shui”, therefore had to go!

Curtains have become a trend for replacing sliding closet doors – especially because large sliding doors are heavy to push and often hide a portion of the closet when opened (due to overlap), which these did.

Replacing the doors with curtain panels in three different colors (purple, beige, ivory) really added a nice feel to the room. And no more issues with hard-to-reach clothing!

Now that the curtains were hung, the rest of the room remained a bit tired (that’s dull and drab in British terms), and the new color scheme in the curtains were begging to be incorporated with the rest of the room.

Here’s a couple views of the “before” – with dark green tones on bedspread, chair cover and throw blanket, and no other color, per se. There were actually some decorating evolutions before finally changing out color scheme (like adding a new headboard).

Then, to brighten up the space, a lighter color bedspread with accents of purple from the curtains would bring it all together. That, and removing the dark chair cover, and adding a purple throw pillow. And, wha-la! …

Other decorating touches were just moving items and wall hangings around. I just love this long-legged bird!

I didn’t move the location of the vintage woman with tray next to the vanity table, but I did re-organize what was on the tray and de-cluttered it some.

I also tidied up the makeup tray.

The items on the top of the dresser were also  replaced with fewer decorative items. Less is more, right?! (Like, “more better”, if I didn’t have to correct my grammar!)

One of the walls took on a different look (although I’m wanting to add some more to this photo collection). These replaced an over-sized painting that was hidden when the floor mirror got moved in that space. That painting is displayed in another room now.

The last, but not least thing I wanted to do was re-organize the jewelry. Before, short necklaces were organized on an unattractive plastic hook-thingy (I believe a tie or belt hook-hanger) which was hung on the wall (and, by the way, wasn’t meant to be a wall hanging item!).

This was replaced with a jewelry organizer made from a toilet paper holder and S-hooks. (Note that, for clients who have more necklaces, I’ve used a towel rack and shower curtain hooks for hanging necklaces).

And these are hung right next to the table-top necklace-holder next to a viewing mirror.

So, there you have it! A bedroom that’s not so tired anymore!

Before:

After:


Interior Decorators vs. Professional Organizers

A colleague of mine, John Trosko of Organizing LA, recently posted in Facebook about having a conversation on who to bring in first – a designer or organizer. His statement was pretty cool, and prompted me to write about this. He says,

I think the difference is […] the organizer TRANSFERS skills to the client and just does not ‘do-it’ for them, leaving clients with a take-away of independence versus dependence. Then, the interior designer can work their magic and make it truly beautiful!”

Although he’s referring to designers, not decorators, he made a pretty powerful statement there, in a rather nonchalant way. So, I wanted to elaborate on this.

First, I want to clarify the difference between an interior designer and an interior decorator. They both do mostly the same thing – design new spaces – however it’s the Designer who has a college degree and studied about architecture. Whereas, the Decorator doesn’t require a college degree to practice decorating,, and typically gains there skills from an already inherent knack and personal study (just like a professional organizer!).

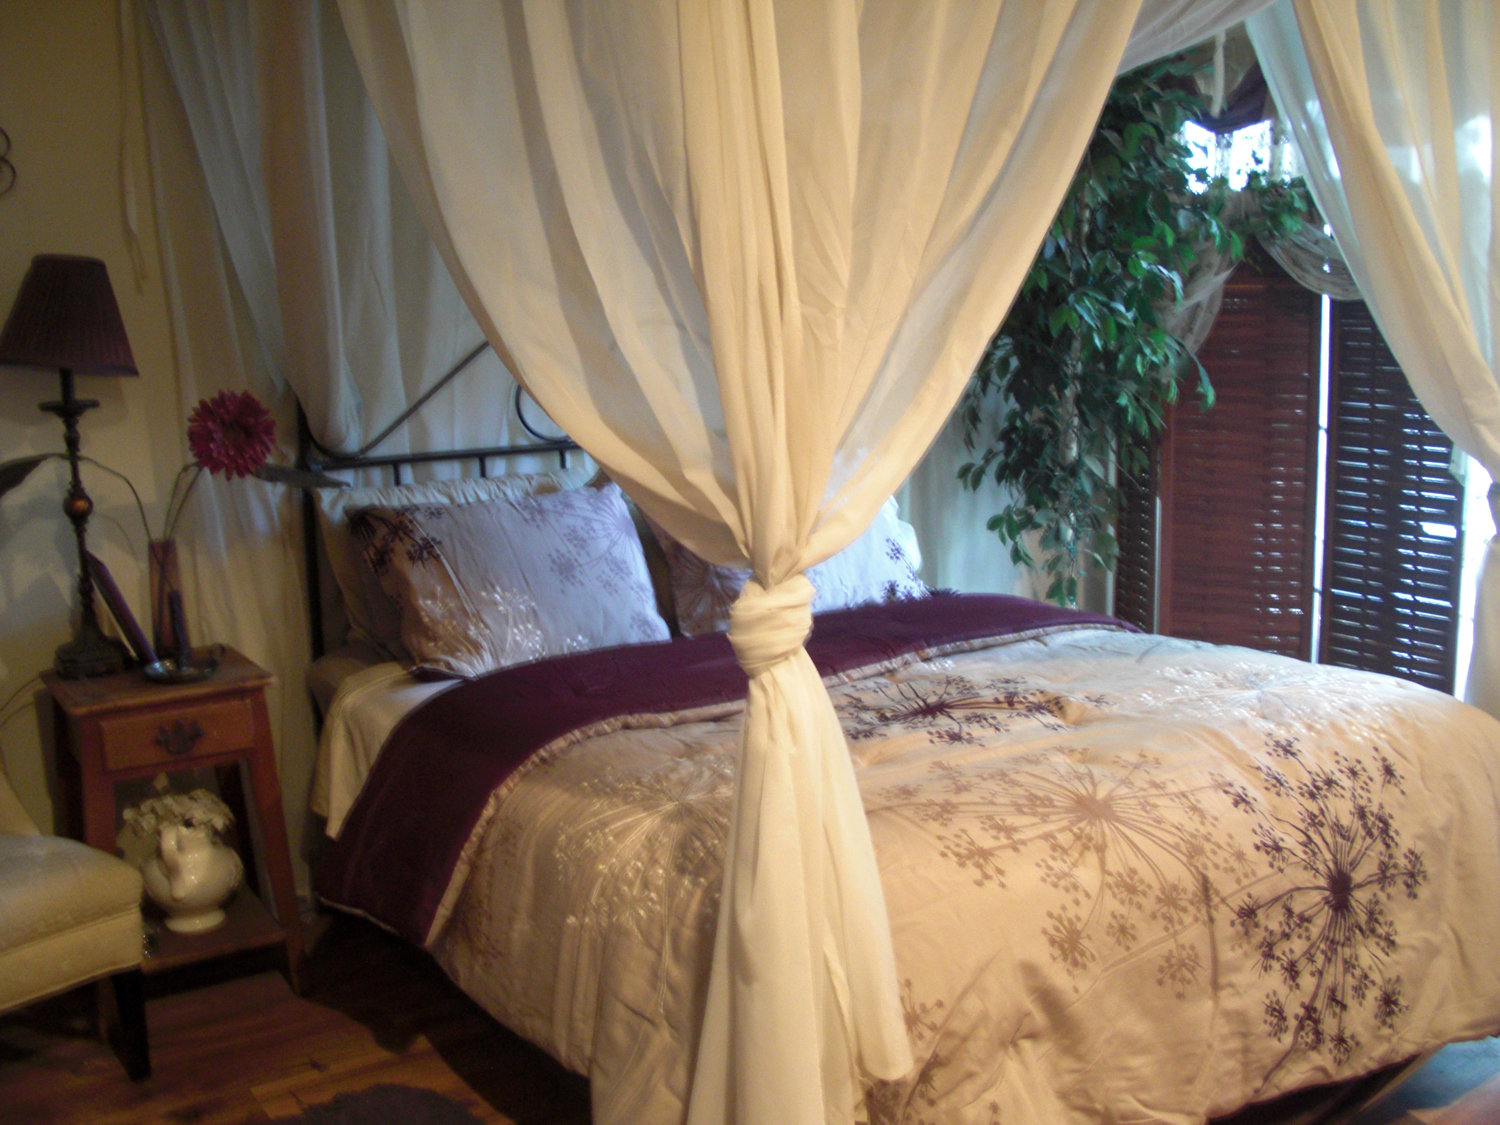
When I first established HandyGirl, it was about helping people get organized. As years moved on, I discovered that after clearing the clutter, clients could actually see their room clearly, as if for the first time. And, many of them decided to go all the way and improve the space even more – rearranging furniture, replacing furniture, removing old stuff to bring in new, giving the room a fresh look with new paint, and adding splashes of new home decor.

That next step led me to an in-depth study on interior decorating, as I was pretty much winging it on all the above room improvements! At least I started with a sense of style to pull off some drastic room changes and carry me into the next level of my evolving profession- study interior decorating!

Well, thank goodness for Candice Olsen of Divine Design! I recorded and watched every show (plus Design On A Dime)! I bought every cool book I could find on the subject. I picked up every interesting magazine about it. I was so ready.

That’s when my service Room Makeovers was born.

It’s interesting though, this evolution of my profession came as a natural step because, after tackling organization issues, it was time to (as John put it) work some magic and make the space more beautiful.

I began focusing on color schemes, wall art, fabric, room arrangements, and overall space options.

Often times, I find that organizing and decorating go hand-in-glove, especially while I’m assessing the issues and recommending solutions. The disorganized person became that way because they didn’t have solutions in place – like having a place for everything – so stuff ended up everywhere and anywhere. These days, it’s just as easy to buy stylish stuff as it is plastic, if it’s not for a storage area.

So, for solutions to blend in with the person’s style, it was clear that they would need stylish solutions. And, ones that blended with their environment.

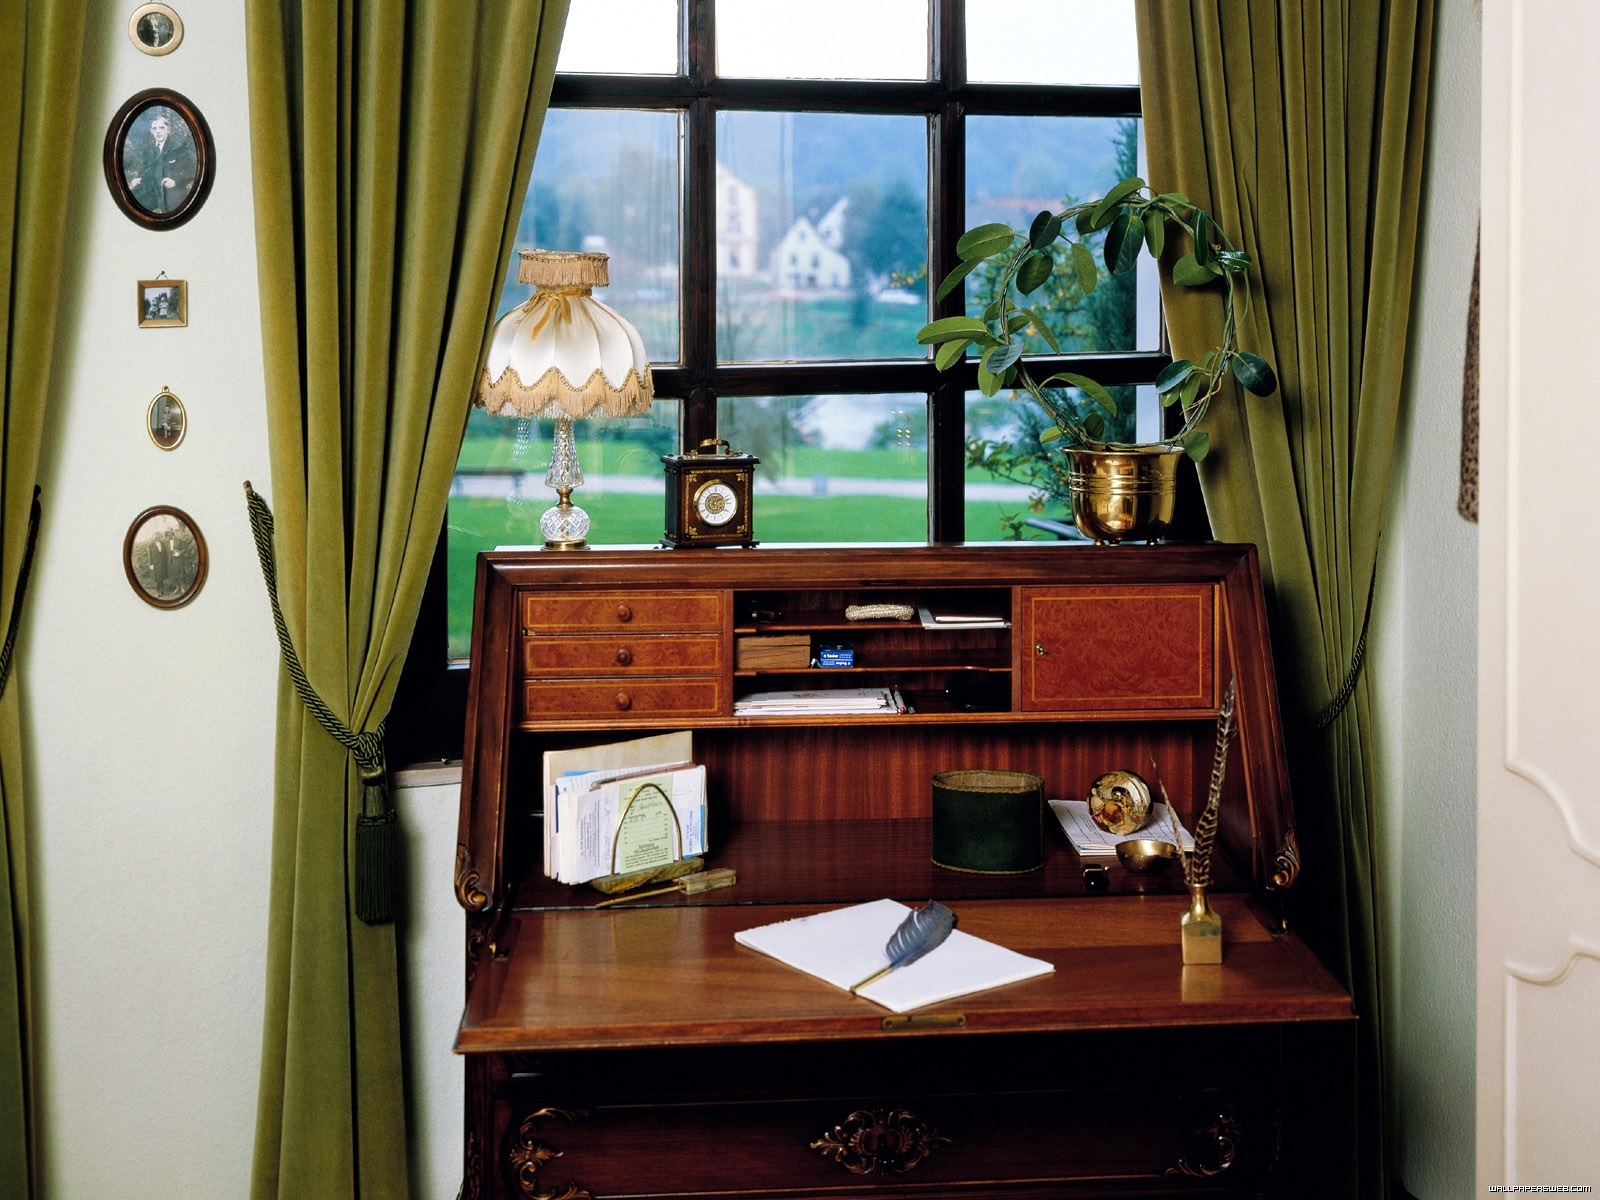
For instance, if a particular desk isn’t working well to keep the person well organized, than they need a new one. And, it’s typically the Organizer who knows what’s needed in having a functional desk for that person’s needs. The Decorator would be able to select a desk based on those needs, and one that fits in the space and looks great for it, too. The Organizer would, of course, make sure the person has all the necessary desk accessories and paper management tools to create a place for everything!

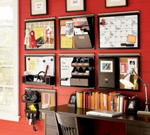
I have to say that, sometimes when I watch these decorating shows that transform a cluttered, disorganized home office into a new space, that the area looks good, but often lacks what’s needed to keep the person organized! I’ve seen design makeovers where the person lost filing cabinet space, so where did all those files go, and where will new files end up?!

You’ll find some stylish solutions in my article “Creative and Decorative Organizing Solutions” at The Organized Home Club site. I wrote,

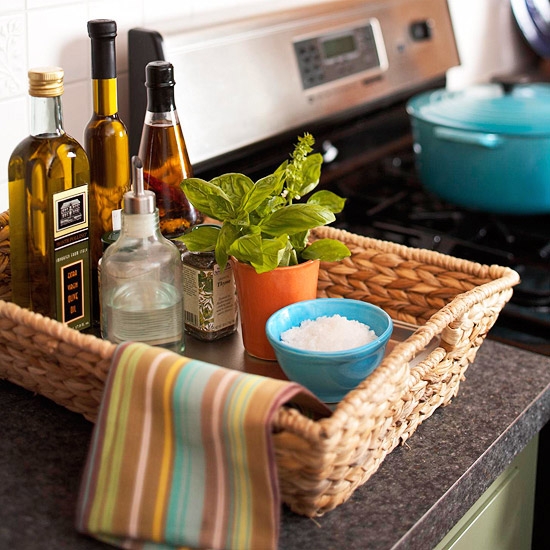
Hiding clutter (ok, stuff!) is better than ever now. There are so many pretty accent-type furnishings that store stuff, each providing a decorative touch to any room. […] Now, more than ever before, the store shelves are lined with decorative storage solutions to organize the home or office. Even shelf baskets are becoming more decorative and designed for grouping like-items together on a shelf.”

There are photos that show some decorative storage solutions in that article.

All in all, it’s the Organizer who can determine organization solutions and make the space functional, while the Decorator can transform the space into something more  beautiful. And sometimes those two people are one person (like me)!

Home Organizing Video Tips

HandyGirl founder Cyndi Seidler is currently producing a video series called “Organized Home” that features her providing tips and organizing solutions around the home.

The Organized Home video series has a video website at www.organizedhomevideos.com. You can subscribe to Cyndi’s YouTube Channel to get updates on new videos, as well.

To date, Cyndi has produced one video a day, talking about how to save space in your clothes closet, a method of handling mail as it comes in your home, her container system for the refrigerator, using turntables in cabinets, how to double the space in your cupboards, and a way to organize hair accessories.

And, that’s just a start!

Here’s a look at one of Cyndi’s quick one-minute organizing tips, “Making Space In Your Clothes Closet”:


Seasons In Your Clothes Closet

‘Tis the season to be … jolly about having an organized closet!

Huh? Don’t have one of those? Or maybe you have one, but aren’t so jolly because the season changed on you, and now you need to access a whole different set of clothing?

For me, I solved the seasonal clothes “musical chairs” dilemma by having two closets – one consisting mostly of clothes for cooler weather; the other for warmer weather. One closet is a walk-in and the other is a reach-in.

However, I know that everyone doesn’t have two clothes closets in their bedroom. So, we manage with other solutions.

Most closet tips I read about suggest:

  • Parring down your clothes
  • Make room for the new season and store out-of-season clothing in space-saver bags within containers under the bed, or hung within mobile wardrobe storage closets.
  • Grouping wardrobe pieces together that work together
  • Parring down your clothes

Oh, did I mention parring down your clothes twice? Purely intentional, actually.

While the above are all good tips, in my professional opinion, I want to add my 2-cents about working with different size closets. Large or small, all closets have the same issues. And, it’s always about space.

With large closets, for example, it may not be such a problem to store all-season clothing in same space. Yet, the clothing area can still get out of control and end up too jammed packed with clothes, shoes, and accessories. That is because these things have a way of growing (especially if you’re a girl or woman!). Therefore, large or small, parring down becomes a necessity.

When it gets to parring down your clothing, the task is often performed during a seasonal change. No matter when it’s done, it involves setting aside some time to allocate for the sorting process.

  • Do a closet sweep in sections. Sort through clothes by working on sections of your closet, like a few feet of clothing rod space, or shelf section.
  • Have tools ready for sorting clothes. This would be boxes or bins or trash bags to place discarded clothing items to “donate”, and ideally a wheeled clothing rack for what you are keeping.
  • Organize as you go. You can put some items you’re keeping within a section back on clothing rod in closet (to make room on wheeled clothing rack for next section). Do this by placing items back in closet by category or type of clothing, and color within that category.
  • Repeat the sorting process. After the first closet sweep is done, do it again. This time, really evaluate whether you truly, really like it and/or will wear it again.
  • Sort dresser drawers, too. Need I say more?

If you’re going a step further and doing a mini-closet makeover, consider replacing wire hangers with some space-saver hangers.  The Container Store has some fabulous solutions for hanging clothes that save on space, like the “huggable hangers”, or add-on skirt hangers, or tiered slack hangers.

There are also some good solutions to store your shoes and clothing accessories better, like for belts, ties, and scarves. And, speaking of scarves, since this is the season for those, here’s an over-the-door hook solution I use in one of my closets:

And ladies, for shoes, I really liked this shoe organization for shoes stored in boxes – having a photo of the pair of shoes on outside of the box! I’ve done a project like this for a client and, what fun!

Okay, now that your clothes are all sorted and organized, let’s make it easier to keep it that way …

My golden rule for clothing maintenance is:

WHEN YOU BUY SOMETHING NEW, GET RID OF SOMETHING OLD.

No, I’m not yelling. I’m emphasizing.

If I buy an article of clothing or pair of shoes, I replace something in the closet with the new item. If I buy 3 new articles of clothing, I must discard 3 articles of clothing. Sometimes, this is not so easy and I have to go through my closet twice to find something I’m okay about parting with!

Now, after many years of applying this policy (or guideline, if you will), I’ve been able to manage my closet easily year-round, and no longer have to make “an event” out of it.

Of course, now that cooler weather is approaching, I do have an annual task to confront – my coat closet. And that is because I haven’t applied my closet policy in THAT closet! No biggie though. Doing that closet annually is good enough for me.

Happy sorting this season!

« Older posts Newer posts »